Koch Method Morse Code Trainer
Contents
Purpose
The Koch method for learing morse code is pretty simple, insead of starting at a slow speed and working your way up to faster speeds, you start at your desired speed but only learn two characters at a time. Plenty of software exists for training using this method, such as G4FON’s CW Trainer I initially used to learn code. This project was designed to be a little different; I wanted something self contained and mostly just something to play around with.
Design
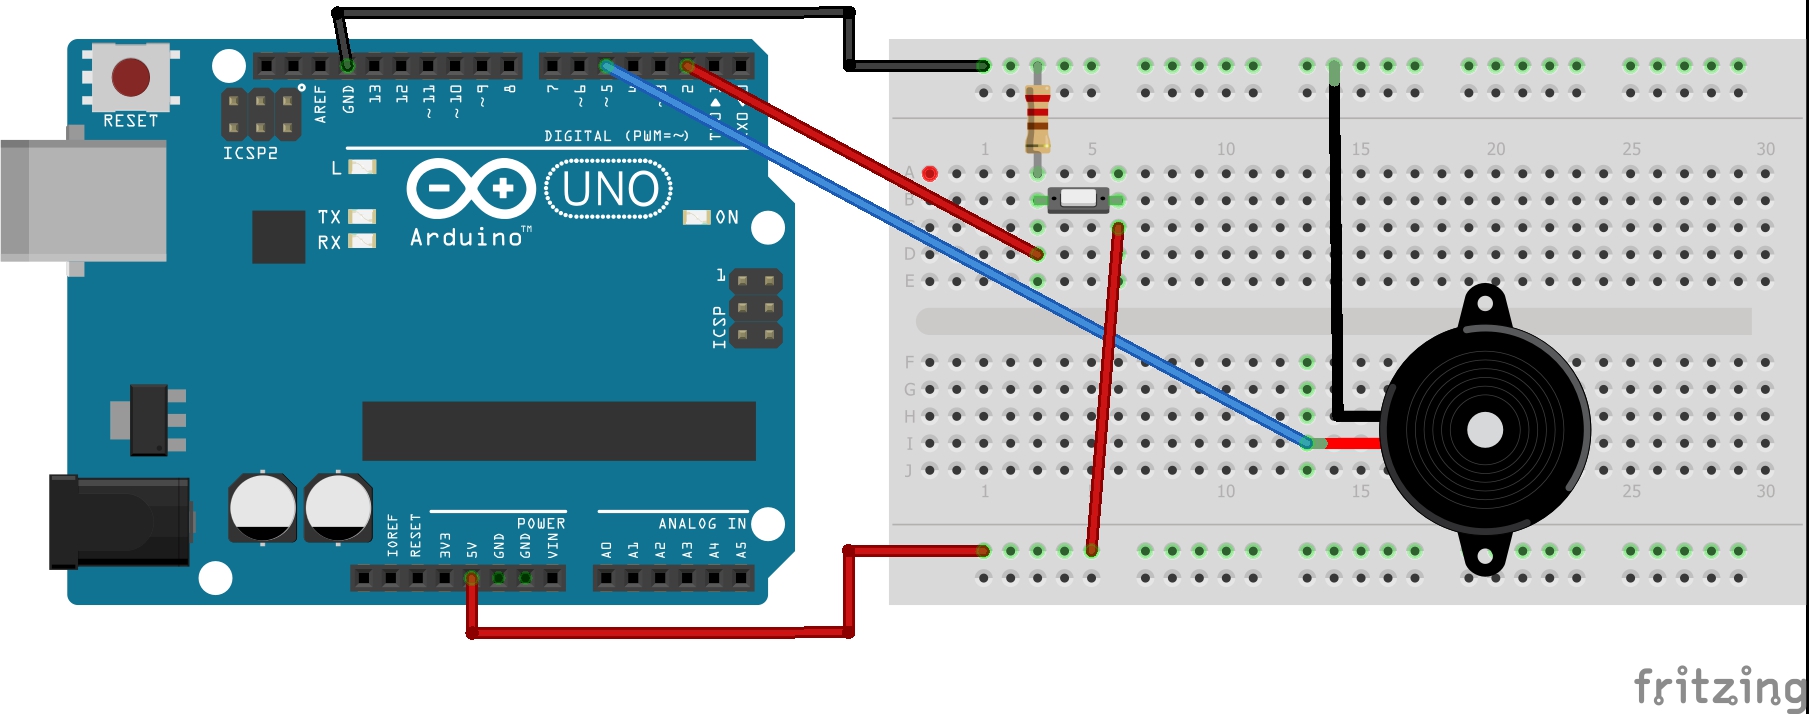
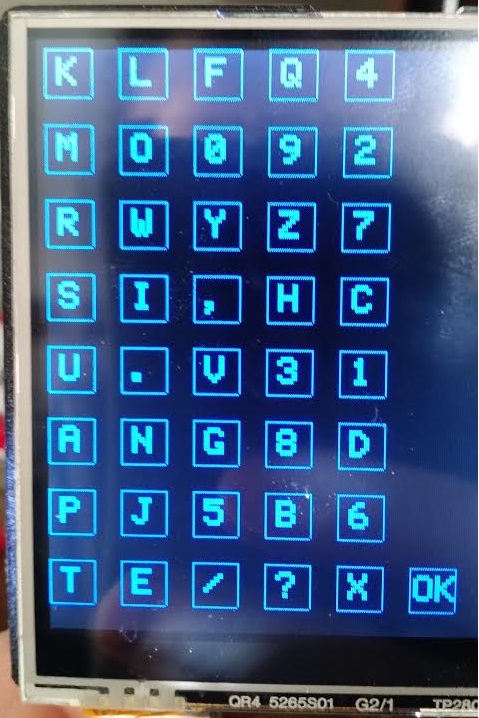
Currently, the trainer consists of an Arduino uno, a TFT touch screen, and a piezo buzzer. When the device is powered on, the main menu appears which allows the user to either start a training session using the stored values for speed and number of characters, or to go to the settings menu to change the options. All options are persisted in the onboard EEPROM.
Features
- Randomly generated lessons using the Koch method
- Self contained unit, no PC required
- Variable speed from 5 - 60 WPM
- Practice transmitting code with a straight key
- Sample QSOs eventually
Implementation
Transmitting
For the most part, the programming was fairly straight forward. The only really interesting detail was storing the structure of the Morse code. I eventually settled on using a 40x7 array of bytes. With this arrangement the first of each set is the ASCII character of the character and the other six bytes are used to store the pattern of dits and dahs. Any value greater than zero is a dit, less than a zero is a dah, and a zero signals the end of the character.
{'k', -1, 1, -1, 0, 0, 0}, //dah dit dah
{'m', -1, -1, 0, 0, 0, 0}, // dah dah
{'r', 1, -1, 1, 0, 0, 0}, //dit dah  dit
{'s', 1, 1, 1, 0, 0, 0}, //dit dit dit
This had an added advantage of inherently storing the order you learn the characters in the Koch method. This helps when generating random characters for the practice sessions because you can simply use
playLetter(random(lettersSelected)); //where letters Selected is between 2 and 40
Receiving
In addition to sending code for the user to listen to, I have added the ability for the Arduino to interpret code sent to it. The hardware portion for this was fairly simple, one side of a straight key is wired to the 5V out on the Arduino, while the other side is wired to a digital input with a pulldown resistor. When the key is pressed, the input pin will read high, when the switch is open the pin will read low. The code is a little more involved than the hardware this time around.
Interrupts
To be able to read from a key and process the input at the same time, two interrupts were used.
void rising() {
  detachInterrupt(0);

  beepStart = millis();
  unsigned long lengthA = beepStart - silenceStart;

  if (lengthA > 5) {
    tone(5, 600);
    silenceLength = lengthA;
    newSilence = true;
    attachInterrupt(0, falling, FALLING);
  } else {

    attachInterrupt(0, rising, RISING);
  }
}

void falling() {
  detachInterrupt(0);
  silenceStart = millis();
  unsigned long lengthA = silenceStart - beepStart;

  if (millis() - beepStart > 5) {
    noTone(5);
    beepLength = lengthA;
    newBeep = true;

    attachInterrupt(0, rising, RISING);
  } else {
    attachInterrupt(0, falling, FALLING);
  }
}
The rising interrupt fires whenever the pin goes from low to high while falling fires during a high to low transition. For the most part these interrupts are the same, however one measures the length of a beep while the other measures the length of the silence. The variables silenceStart and beepStart are global variables that are used to store the times of the beeps and silences. The if statement is used as a sort of debounce, basically if the same interrupt was called within 5 milliseconds, it will go back to listening for the opposite transition without changing any of the time recordings.
Data Structures
The Morse code patterns are already stored in memory using the array discussed above, however that structure is good for going from a character to a pattern of dits and dahs, but not the other way around. Binary search trees lend themselves well to interpreting Morse code.
When the Arduino boots, it iterates through the array of characters and their patterns and fills out an array as a binary search tree.
void buildTree() {

  for (int i = 0; i < 127; i++) {
    searchTree[i] = '\n';
  }

  for (int i = 0; i < 40; i++) {
    //now we just add each character to the tree. I think that should be simple.

    int index = 0;
    for (int j = 1; j < 7; j++) { //iterate over the (up to) six dits and dahs
      //dahs (<0) go left dits (>0) go right
      if (characters[i][j] < 0) { //if we have a dah
        //go to the node to the left
        index = 2 * index + 1;
      } else if (characters[i][j] > 0) {
        index = 2 * index + 2;
      } else if(characters[i][j] == 0 || j == 6){ // fill in the charcter pointed to by i in the search tree
        searchTree[index] = characters[i][0];
        break;
      }
      if(j == 6)
        searchTree[index] = characters[i][0];
    }
  }
}
Now when we receive input it’s fairly easy to interpret. We use a pointer that always starts at the head of the tree (index = 0). If we receive a dit we go right (index = 2*index+2) or if it was a dah we’ll go left (index = 2 * index +1), if we receive a silence signifying the end of that letter, whatever index we are at is the letter that the user sent and we move the pointer back to zero.
Modes
Timed Lessons
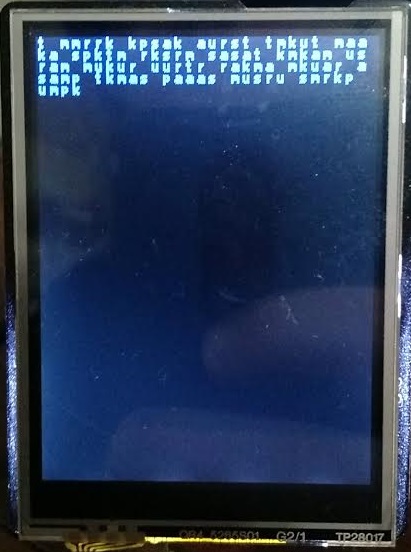
This is the most basic, but also the most important feature of the tutor. It plays a five minute session of code at the selected speed and character set. As each character is played, it is displayed on the screen. I still need to figure out how to implement scrollback to check against the earlier half of lessons.
Flash Cards
In this mode, the sounds of a single character is played and then the character is displayed after a brief pause. This is useful when you’re struggling with single characters and need a chance to think between letters.
ToDos
For the most part I’m pretty pleased with how it works. There are however a few things I want to work on
Code Generation
Currently, code timings are based on the Paris standard, which basically says at X words per minutes you should be able to send Paris X times. The other rules are
- A dit takes a single unit of time
- A dah takes three units
- The space between dits and dahs is a single unit
- The space between letters is three units
- The space between words is seven units
Using these rules, Paris comes out to 55 units. So to find the length of a unit as well as the other times we use
{u} = 60/t = 60.0 / (wpm * 55);
ditLength = unit * 1000;
dahLength = unit * 3000;
interElementLength = unit * 1000;
shortGapLength = unit * 3000;
longGapLength = unit * 7000;)
In this case, the times are measured in milliseconds, thus the 1000 multipliers.
Sample QSOs
I haven’t had a chance yet, but I want to add a lesson which plays slightly more real world conversations rather than a heap of random letters and number.
Display Issues
The refresh rate on the screen is horrid.
Build
For the most part the hardwire setup is simple since we only have three components. I had initially planned on using a SeedStudio prototyping shield to mount the buzzer between the screen and Arduino, but I forgot it isn’t actually compatible, so I’ll be avoiding their products in the future. To get around this, I simply wrapped wires on the pins between the shield and Arduino.